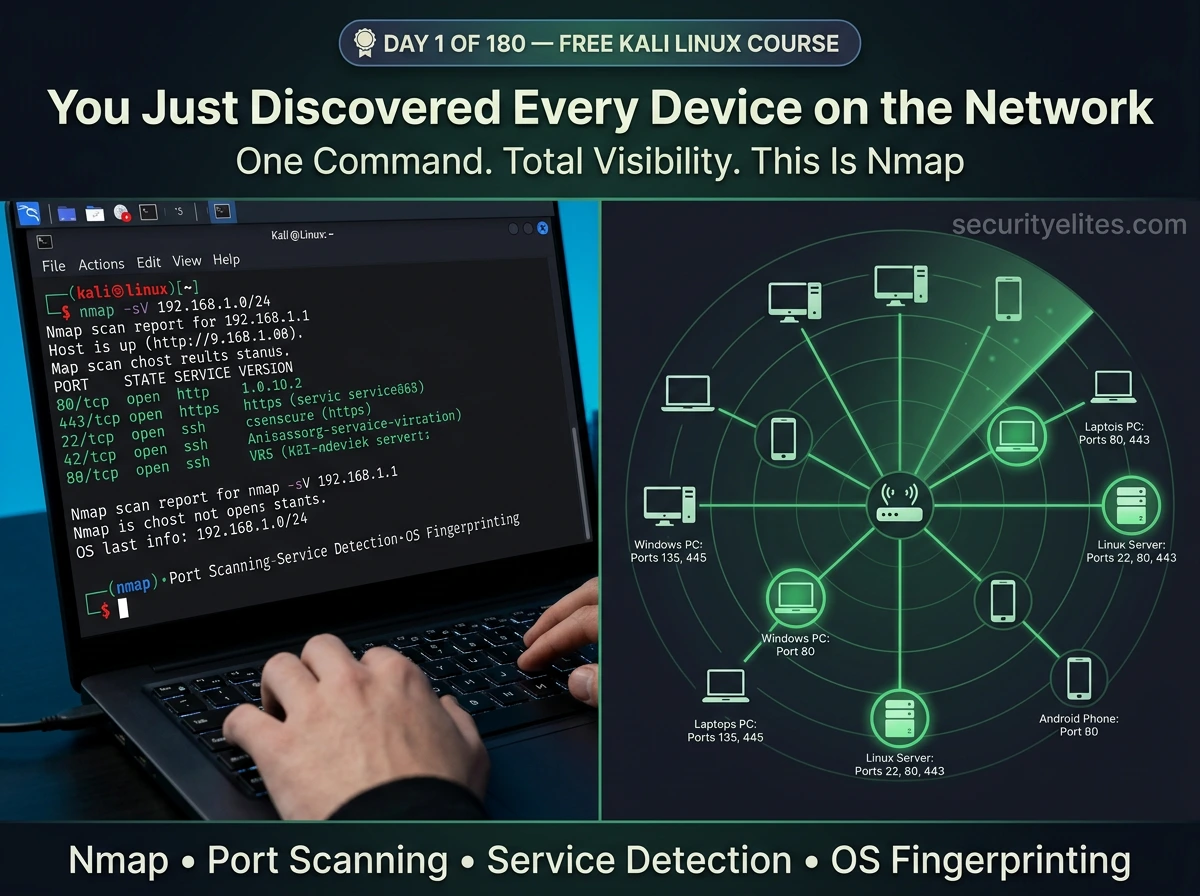
This article is a comprehensive beginner's tutorial on Nmap, the network scanning and reconnaissance tool included with Kali Linux. It covers Nmap's fundamental purpose—discovering live hosts, identifying open ports, detecting running services and their versions, and fingerprinting operating systems—and emphasizes why network reconnaissance is the essential first phase of any authorized security assessment. The article matters because Nmap is used in every professional penetration test and security evaluation, making it the foundational tool every security professional must master.
- Nmap's core function and capabilitiesNmap sends carefully crafted network packets to targets and analyzes responses to determine which hosts are alive, which ports are open, what services and software versions are running, and what operating systems are present. The tool can discover live hosts, open ports (out of 65,535 possible TCP ports), specific applications and their exact versions (like Apache 2.4.51 or OpenSSH 8.9), and operating system details via fingerprinting. It can also run vulnerability checks through the Nmap Scripting Engine (NSE).
- Understanding port states in Nmap outputNmap reports three distinct port states: Open (a service is actively listening and accepting connections—the key finding for security professionals), Filtered (a firewall or packet filter is blocking the probe, so the actual state is unknown), and Closed (no service is listening and the host confirmed this by responding with a TCP RST reset). Understanding these distinctions is critical for interpreting scan results accurately.
- TCP SYN versus TCP Connect scansTCP SYN scan (-sS) sends a SYN packet and waits for a SYN/ACK response but never completes the three-way handshake, making it a 'half-open' scan that is faster and stealthier but requires root privileges. TCP Connect scan (-sT) completes the full handshake, is slower and more detectable because it logs on the target system, but does not require root. SYN scan is preferred for authorized penetration testing.
- Service version detection with -sV flagThe -sV flag reveals exact software versions running on open ports—for example, distinguishing between Apache 2.2.31 (with known vulnerabilities) and Nginx 1.24.0 (current). This is crucial because specific version numbers can be checked directly against CVE databases to identify applicable vulnerabilities. Without -sV, you only know a service is present; with it, you know which known vulnerabilities may apply.
- OS fingerprinting and the aggressive scan modeThe -O flag analyzes subtle differences in how operating systems respond to network packets to identify the target OS (such as Linux 4.15-5.8 or Microsoft Windows 10). The -A (aggressive) flag combines OS detection, service version detection, default NSE scripts, and traceroute in one command, providing comprehensive results at the cost of longer scan times and higher detectability. The -A flag is what most professionals use for comprehensive assessments.
- Network discovery with ping sweep and subnet scanningPing sweep (-sn flag) discovers which hosts are alive on a network without scanning ports—for example, 'nmap -sn 192.168.1.0/24' identifies all active devices in that subnet. CIDR notation allows scanning entire network ranges: 192.168.1.0/24 covers 192.168.1.1 to 192.168.1.254. This discovery phase reveals all assets before deeper scanning and is always the first step in authorized network assessments.
- Port range specification and complete scanningThe -p flag controls which ports are scanned: -p 80 scans a single port, -p 1-1000 scans a range, -p 22,80,443,3306,8080 scans multiple specific ports, and -p- (shorthand for -p 1-65535) scans all 65,535 ports but is slow. By default, Nmap scans only the 1,000 most common ports; services hiding on non-standard ports (like SSH on port 2222) only appear in full scans, so professionals typically run both a fast 1000-port scan and a background full -p- scan.
- Output formats and professional documentationNmap supports multiple output formats: -oN produces human-readable text, -oX produces XML for importing into other tools, -oG produces grepable output for parsing with command-line tools, and -oA saves all three formats simultaneously. Professional security work requires documenting findings, and the -oA flag is recommended because it creates portable, searchable records (.nmap, .xml, .gnmap files) that can be referenced later or imported into reporting systems.
Bottom line: Nmap is the foundational network reconnaissance tool that every security professional learns first because it systematically maps network assets, identifies running services with exact version numbers, and bridges directly to vulnerability identification—making it essential for the first phase of any authorized security assessment. The key to mastering Nmap is understanding what each flag does, how to interpret the three port states in output, and the importance of running both fast and comprehe
Day 180 — Advanced Kali Mastery
- What Is Nmap and Why It Matters
- Step 1 — Install and Verify Nmap
- Step 2 — Your First Nmap Scan
- Step 3 — Reading Nmap Output
- Step 4 — Port Range Scanning
- Step 5 — Nmap Scan Types Explained
- Step 6 — Service and Version Detection
- Step 7 — OS Fingerprinting
- Step 8 — The Aggressive Scan (-A)
- Step 9 — Scanning a Whole Subnet
- Step 10 — Saving Nmap Results
- Bonus — Nmap Scripting Engine (NSE)
- Nmap Commands Cheat Sheet
- Day 1 Task and Challenge
Before we type a single command, let’s understand what we’re actually doing. The biggest mistake beginners make in Kali Linux is typing commands without understanding them. In this course, you will never type a command you do not understand. Every flag, every option, every output line — explained. That is the promise of this course, and we start it right now on Day 1.
What Is Nmap and Why Is It the First Tool Every Security Pro Learns?
Nmap stands for Network Mapper. It was created by Gordon Lyon (known as “Fyodor”) in 1997 and is still actively maintained nearly 30 years later. That longevity says everything about its quality — in a field where tools become obsolete in months, Nmap is as essential today as it was when Bill Clinton was president.
At its core, Nmap does one thing: it sends carefully crafted network packets to a target and analyses the responses. From those responses it can determine which hosts are alive, which ports are open, what services are running on those ports, what software versions those services are running, and what operating system the target is using. This is called network reconnaissance or network enumeration — and it is always the first phase of any authorised security assessment.
STEP 1
Install and Verify Nmap in Kali Linux
Nmap comes pre-installed on Kali Linux. But we always verify before assuming. Open your Kali Linux terminal — press Ctrl+Alt+T or click the terminal icon in the taskbar.
└─$ nmap –version
You should see the Nmap version information. If you get a “command not found” error, install it with:
kali@kali: ~
Terminal
└─$ nmap –version
└─$ █
STEP 2
Your First Nmap Scan — The Most Basic Command
The most basic Nmap scan sends probes to the 1,000 most common ports on a single target host and reports which are open. The syntax is simply: nmap [target]. The target can be an IP address, a hostname, or a URL. Let’s scan your own router first — the safest and most immediate target you own.
Note your router’s IP address. Now run your first scan:
Congratulations — you just ran your first Nmap scan. But what does all of this mean? Let’s decode every line.
STEP 3
Reading and Understanding Nmap Output — Line by Line
Every single line in Nmap’s output means something specific. This is where most beginners get lost — they see the output but cannot interpret it. Let’s fix that right now with a complete annotated breakdown:
STEP 4
Port Range Scanning — The -p Flag
By default, Nmap scans only the 1,000 most common ports. But there are 65,535 total TCP ports and 65,535 UDP ports. Security professionals often need to scan more broadly. The -p flag controls which ports you scan.
-p- scan of all 65,535 ports running in the background. Services hiding on non-standard ports (like a web server on port 8888 or SSH on port 2222) only appear in the full scan. Never assume the default 1000-port scan finds everything.
STEP 5
Nmap Scan Types — Understanding the Difference
Nmap has multiple scan techniques, each with a different mechanism and different use cases. This is one of the most important concepts in this Nmap tutorial for beginners because choosing the right scan type affects speed, detectability, and accuracy.
STEP 6
Service and Version Detection — The -sV Flag
Knowing a port is open is just the beginning. The real intelligence comes from knowing what software version is running on that port. A port 80 might be Apache 2.2.31 (known vulnerabilities) or Nginx 1.24.0 (current). The -sV flag enables service and version detection — it is one of the most valuable Nmap options and you will use it on every professional scan.
Look at the difference. With -sV we now know specific version numbers. OpenSSH 8.9p1, lighttpd 1.4.73, Squid 5.7. Each of these can be checked against CVE databases for known vulnerabilities. This is the direct bridge between Nmap output and vulnerability identification.
STEP 7
OS Fingerprinting — The -O Flag
Nmap can determine the operating system of a target by analysing subtle differences in how different operating systems respond to specific network packets. This is called OS fingerprinting. The -O flag enables it. Note: requires root/sudo privileges.
STEP 8
The Aggressive Scan (-A) — Everything at Once
The -A flag is the power flag. It enables OS detection (-O), service version detection (-sV), default script scanning (-sC — which runs the Nmap Scripting Engine), and traceroute — all in one command. This is what most professionals use for a comprehensive target assessment.
STEP 9
Scanning an Entire Subnet — Network Discovery
In real security assessments, you rarely scan just one host. You scan entire network ranges to discover all assets. Nmap supports CIDR notation to specify subnet ranges. Always confirm you are authorised to scan every IP in the range before running subnet scans.
STEP 10
Saving Nmap Scan Results — Output Formats
In professional security work, documenting your findings is not optional — it is a requirement. Nmap provides multiple output formats. Save your scans from Day 1. Good documentation habit built early saves hours of work later.
⭐ Bonus — The Nmap Scripting Engine (NSE)
Nmap includes a powerful scripting engine with over 600 scripts that extend its capabilities far beyond port scanning. NSE scripts can check for specific vulnerabilities, enumerate services, detect default credentials, and much more. This is a preview — we go deep on NSE on Day 15 of this course.
Nmap Commands Cheat Sheet — Save This Forever
Basic scan (top 1000 ports)
Ping sweep — find live hosts
Skip ping, treat as up
Single port
Port range
All 65535 ports
Top 100 common ports
Service version detection
OS detection (sudo)
Aggressive: -sV -O -sC traceroute
Save all formats
Faster timing (T0=slowest, T5=fastest)
Verbose — show progress live
Very verbose
Full professional scan
Discover all live hosts
Vulnerability scan with NSE
🎯 Day 1 Task — Your Nmap Practical Challenge
ip route show, then run nmap [your-router-ip]. Note every open port. What is running on each port? Can you identify the services from their port numbers?nmap -sV [router-ip]. Compare the output to your basic scan. What additional information did -sV reveal? Note the software versions shown. Can you find the router’s firmware/software version in the output?nmap -sn 192.168.1.0/24 (adjust subnet to match yours). How many devices are on your network? Are there devices you did not know about? This is exactly what a security professional does at the start of an authorised network assessment.nmap -sV -oA day1_scan [router-ip]. Check the three files created. Read the .nmap file with cat day1_scan.nmap. Start building the habit of saving every scan — from Day 1 to Day 180.nmap -A scan on it. These platforms provide authorised targets specifically designed for learning. TryHackMe’s “Basic Pentesting” room is perfect. Share your results with #Day1Done 🔵The most important network scanning tool in security.
Day 2 is Netcat — the “Swiss Army Knife of networking.” You’ll learn to create TCP connections, send files, open backdoor shells, chat between computers, and set up listeners. Netcat is built into Kali and it’s the foundation of understanding how shells and reverse connections work — knowledge that underpins Metasploit, Meterpreter, and every reverse shell technique in this course.
Frequently Asked Questions — Nmap Tutorial
The first tool I opened when I started learning security was Nmap. The first time I ran nmap -sV on my home network and saw every device, every service, every version laid out in that terminal output — it completely changed how I understood what a network actually is. Not a vague invisible thing, but a precise, inspectable collection of services. That mental model, built in one afternoon with Nmap, underpins everything else in security. Day 1 done. 179 to go.

666