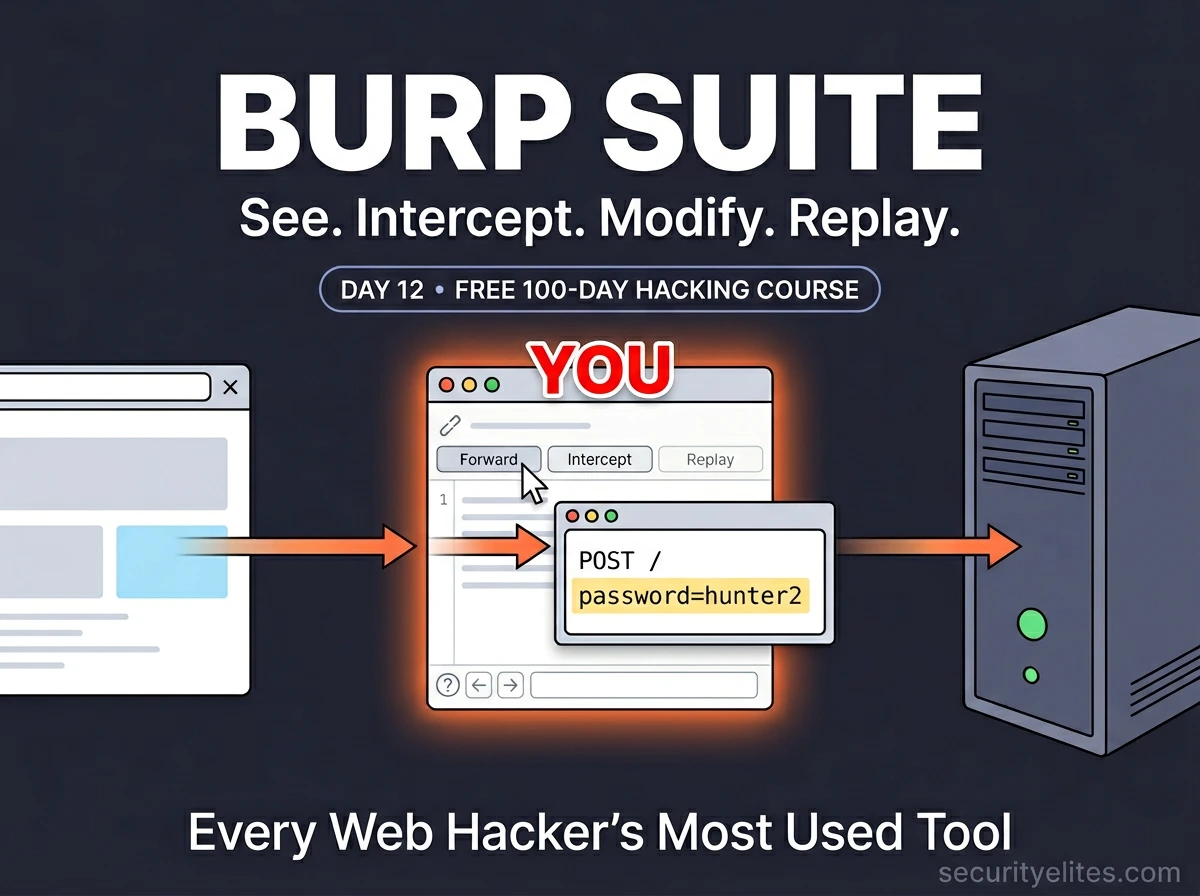
This article is a practical setup and introduction guide to Burp Suite, a web application security testing proxy tool, positioned as Day 12 of a 100-day penetration testing curriculum. It covers the installation, configuration, and first use of Burp Suite's core features for intercepting, inspecting, and modifying HTTP and HTTPS web traffic. The article matters because Burp Suite is described as the industry standard for web security testing, and mastering its basics is foundational to identifying web vulnerabilities in subsequent training modules.
- Burp Suite as a Man-in-the-Middle ProxyBurp Suite functions as a proxy that sits between the browser and web server on port 127.0.0.1:8080, allowing it to intercept, read, modify, and replay every HTTP and HTTPS request and response. This position gives testers the ability to see sensitive data like login credentials in plain text, session cookies, and API payloads, then alter any field before forwarding requests to the server—a capability that is core to vulnerability testing.
- HTTPS Interception via CA Certificate InstallationBurp generates its own Transport Layer Security certificate for each HTTPS site visited and signs it with Burp's Certificate Authority. Installing Burp's CA certificate into Firefox's trusted certificate authorities allows the browser to accept these dynamically generated certificates, enabling seamless HTTPS traffic interception without certificate warnings. This one-time installation is critical for testing encrypted traffic but should only be done in a dedicated testing browser profile, not everyday browsers.
- Two Interception Modes: Active and PassiveThe Intercept tab pauses individual requests mid-flight for inspection and modification before forwarding, while the HTTP History tab silently logs all traffic without stopping it. The article demonstrates this distinction by showing how Intercept freezes a DVWA login POST request mid-flight to reveal credentials and CSRF tokens, while HTTP History passively records every navigation click and API call for later review without disrupting browsing.
- Repeater Tool for Iterative TestingThe Repeater tab allows testers to take a captured request, modify it in an editable panel, send it with one click, and instantly view the server response—enabling dozens of modified requests per minute without re-navigating the browser. The article demonstrates this with SQL injection payload testing, showing how changing id=1 to id=1' reveals SQL errors, id=1 OR 1=1-- returns all users, and boolean tests like id=1 AND 1=2 return nothing—all executed from within Repeater without leaving the tool.
- Decoder for Encoding Format TranslationThe Decoder tab instantly translates between common web encoding formats—URL encoding, Base64, HTML entities, hex, ASCII, and GZIP—allowing testers to unmask obfuscated data in cookies, form fields, and parameters. The article shows practical examples: %40 and %21 decoding to @ and !, and a Base64-encoded cookie revealing a JSON structure with a role field that could be modified and re-encoded to escalate privileges.
- Target Scope Definition for Focused TestingThe Target Scope feature restricts Burp's capture to specific protocols, hosts, ports, and file paths using regex patterns, preventing the tool from logging noise from unrelated domains and background requests. The article demonstrates adding DVWA to scope by specifying http://192.168.56.101:80 with /dvwa/.* pattern, then using 'Show only in-scope items' filter to keep HTTP History focused solely on the target application.
- Practical First Intercept: DVWA Login RequestThe article walks through intercepting a live DVWA login POST request containing username=admin, password=password, and a CSRF token (user_token). This hands-on example demonstrates that testers can view credentials in clear text, modify any field (e.g., changing username to administrator or adding SQL injection payloads), and delete security headers like CSRF tokens to test server validation—establishing the core testing workflow.
- Daily Professional Workflow RequirementsThe article establishes that Burp Suite must remain open every day from Day 12 forward in the curriculum, uses 'Temporary project' mode for daily practice (vs. saved projects for long-running engagements), and recommends the FoxyProxy extension for one-click proxy toggling rather than repeatedly digging into Firefox settings. It also stresses verifying the proxy listener is running (Proxy tab → Proxy settings) before testing and disabling the proxy when finished to avoid breaking normal browsing.
Bottom line: Burp Suite is a proxy-based tool that must be configured once with a CA certificate and browser proxy settings, then becomes the primary platform for all web security testing by allowing testers to intercept, inspect, modify, and replay HTTP/HTTPS traffic in real time. Mastery comes through daily use across the Intercept, HTTP History, Repeater, and Decoder tabs to methodically test for vulnerabilities like SQL injection, and the practical first exercise—intercepting a live DVWA login request—pr
Day 100 — Professional Pentester
Burp Suite is made by PortSwigger and has been the industry standard web application security testing platform for over 15 years. The Community Edition is free, fully functional for manual testing, and pre-installed on Kali Linux. Professional penetration testers use it on every single web application engagement — for mapping, intercepting, manipulating, and analysing HTTP traffic.
- What Burp Suite Actually Does
- Step 1 — Launch Burp Suite
- Step 2 — Configure the Browser Proxy
- Step 3 — Install the CA Certificate
- Step 4 — Your First Intercept
- HTTP History — Passive Reconnaissance
- Repeater — Where the Real Testing Happens
- Decoder — Unmasking Obfuscated Data
- Setting Target Scope — Professional Discipline
- Day 12 Practical Task
What Burp Suite Actually Does — The Mental Model
Burp Suite is a proxy — it sits between your browser and the internet. When you configure your browser to route traffic through Burp, every HTTP and HTTPS request your browser makes passes through Burp first, and every response from the server passes back through Burp before your browser renders it.
Can freeze, modify,
replay any request
sends responses
Without a proxy: Browser ↔ Server directly. With Burp: Browser → Burp (reads/modifies) → Server. Server cannot tell the difference.
This intercepting position gives you extraordinary power. You can read every request — including the POST body with login credentials, the session cookie in every header, the JSON payload in an API call. You can modify any of it before forwarding. Change a user ID. Add a SQL injection payload. Remove a security header. And you can replay any request as many times as you want with different modifications. That’s the testing workflow.
STEP 1
Launch Burp Suite
Burp Suite is pre-installed on every Kali Linux distribution. Launch it from the terminal or the Applications menu.
You’ll see Burp’s main interface with the Dashboard tab open. The critical tabs are: Proxy (intercept and history), Repeater (manual request replay), Decoder (encoding utilities), Intruder (automated fuzzing — throttled in Community Edition), and Target (site map and scope). We’ll use all of these today.
STEP 2
Configure the Browser Proxy
Burp listens by default on 127.0.0.1:8080. You need to tell Firefox to send its traffic to that address instead of directly to the internet. I recommend installing FoxyProxy — it lets you switch the proxy on and off instantly with one click, rather than digging into Firefox settings every time.
STEP 3
Install Burp’s CA Certificate — Critical for HTTPS
Without this step, Burp can intercept HTTP but every HTTPS site will throw a certificate warning. Burp generates its own TLS certificate for each HTTPS site you visit — signed by Burp’s own Certificate Authority. By installing Burp’s CA cert in Firefox, you’re telling Firefox to trust those dynamically generated certificates. This is what enables seamless HTTPS interception.
STEP 4
Your First Intercept — DVWA Login Request Mid-Flight
Now the moment everything has been building to. We’re going to intercept a login request to DVWA — freeze it mid-flight, read the credentials in plain text, and understand what we’re seeing. Then we’ll modify it and see what happens.
Take a moment with that. You just intercepted a live login request. You can see the username, password, and session token. You can modify any field before forwarding. You could change username=admin to username=administrator and see if that user exists. You could add a SQL injection payload to the username field. You could delete the user_token (CSRF token) and see if the server validates it. The testing has begun.
HTTP History — Passive Reconnaissance Without Touching Anything
The Intercept tab catches requests one at a time. HTTP History is different — it silently logs every request and response while you browse normally, without freezing anything. Turn off Intercept and browse through DVWA — every click, every page load, every API call is recorded. This is your first view of the application’s complete traffic pattern.
Repeater — Where the Real Testing Happens
The Repeater is where you’ll spend the majority of your testing time. It lets you take any captured request, modify it in any way, send it, and see the full response — instantly. No need to re-navigate the browser, re-fill forms, or re-trigger complex application flows. One click → modified → send → read response. Repeat hundreds of times until you find the vulnerability.
Decoder — Unmasking Obfuscated Data
Web applications frequently encode data — URL encoding, Base64, HTML entities, hex. When you encounter a suspicious-looking string in a cookie, a hidden form field, or a URL parameter, the Decoder tab decodes it instantly. It’s also essential for constructing payloads in specific encoding formats.
Setting Target Scope — Professional Discipline in Burp
When you browse with Burp active, it captures traffic from every domain — your lab target, Google, Firefox’s background requests, everything. On a real engagement, this noise makes the HTTP History hard to use. Scope keeps Burp focused on your target and prevents accidentally testing out-of-scope systems.
📋 Burp Suite Quick Reference — Shortcuts Every Tester Uses
| Action | Where | Shortcut / Method |
|---|---|---|
| Send to Repeater | Intercept or History | Ctrl+R or Right-click → Send to Repeater |
| Send request in Repeater | Repeater | Ctrl+Enter or click Send button |
| Forward intercepted request | Intercept | Ctrl+F or Forward button |
| Drop request (don’t forward) | Intercept | Drop button (deletes without forwarding) |
| Toggle Intercept on/off | Intercept | Ctrl+T or click Intercept button |
| Send to Intruder | Anywhere | Ctrl+I or Right-click → Send to Intruder |
| Send to Decoder | Anywhere | Ctrl+Shift+D or Right-click → Send to Decoder |
| Search in response | Repeater / History | Ctrl+F in the response panel |
| URL-encode selected text | Any text field | Select text → Ctrl+U |
🎯 Day 12 Practical Task
# Send to Repeater, then try:
id=1′ → SQL error?
id=1 OR 1=1– → all users?
Intercept the DVWA login request. Before forwarding, change the username from admin to wronguser. Forward the modified request. What response do you get? Now try admin' OR '1'='1 as the username (keep the original password). What happens? Note your result 🔍
You’re intercepting. You’re modifying. You’re testing.
Day 12 is a milestone — not because Burp is complicated to set up, but because it changes what’s possible. From this point forward, every web vulnerability we study comes with a real Burp Suite demo in DVWA. Day 13 is SQL Injection — one of the most impactful and widely covered vulnerabilities in this field. With Burp ready, we do it properly.
Frequently Asked Questions — Day 12
Burp Suite has been open on my second monitor for every web application engagement I’ve run in the past decade. It’s not a tool you master — it’s a tool you grow alongside. The basic setup you did today is exactly what I use on $50,000 engagements. The skill difference is in knowing what to look for, and that’s what the next 23 days build.

1 Comment