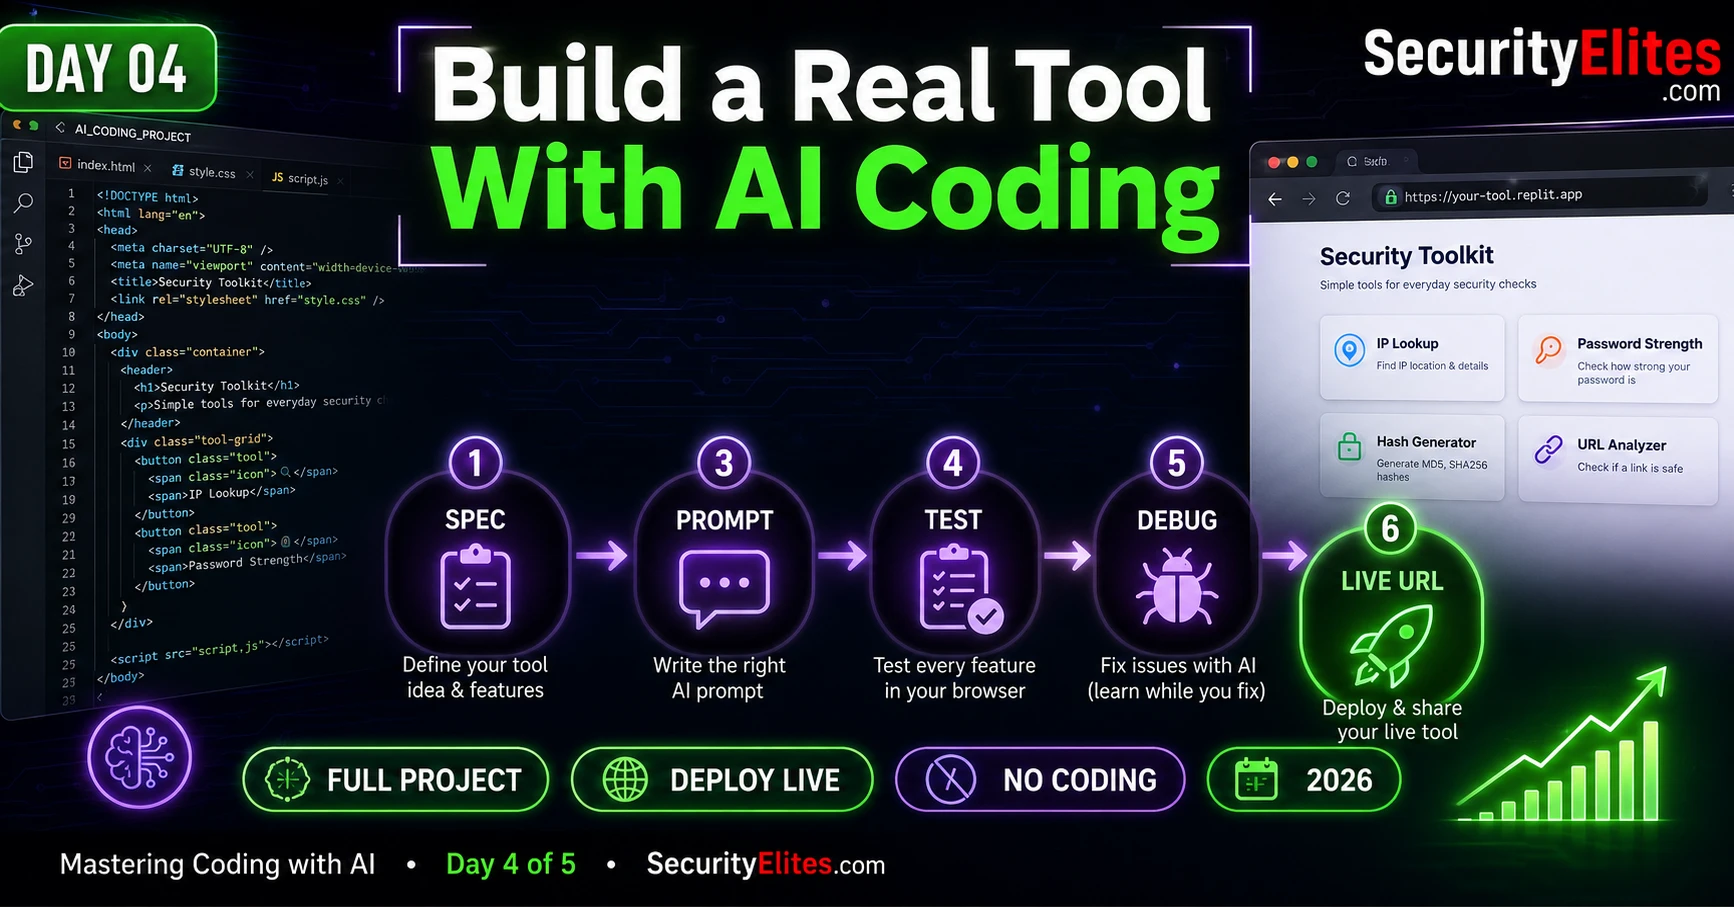
Today is the day that converts everything from the first three days into something tangible. You’re going to build a complete, working, deployed tool — something with a real URL that you can share with someone and they can actually use. Not a tutorial exercise. Not a fragment. A complete tool, built by you, deployed by you, using AI as your development partner.
The tool I’m going to walk you through is a security-themed password strength and breach awareness tool — relevant, useful, and perfectly scoped for a single-day project. But I’ll also give you the full framework to build anything else if you have a different project in mind. The process is identical regardless of what you build.
By the end of today you’ll have something you can put on a CV, share in a portfolio, use with your team, or simply feel proud of having made. Let’s build it.
🎯 What You’ll Master in Day 4
⏱ 30 min read + 60–90 min building · Browser + Replit account (free)
- Completed Days 1, 2, and 3
- Have a free Replit account — takes 2 minutes to create
- Access to any AI chatbot for code generation
- Understanding of: five-component prompts, iterative prompting, debug loop, behavioural testing
Build a Real Tool With AI Coding — Day 4 of 5
Everything in Days 1–3 was preparation for today. The mental model, the prompting stack, the debugging loop — all of it is infrastructure for this build session. Our own password strength checker is a good reference for what we’re building — today you create your own version with your own design and features. And when you’re done, Day 5 covers how to check it for security issues before you share it with anyone.
The Six-Stage Build Process
I’ve built enough tools with AI assistants to have a consistent process that works reliably. Six stages. Done in order. Each stage has a clear output that feeds the next one.
The six stages: Specify → Decompose → Scaffold → Test → Deploy → Document.
Most beginners skip stages 1 and 2 entirely and jump straight to prompting. That’s why they get messy, hard-to-debug code. The first two stages take ten to fifteen minutes and make every subsequent stage faster and more reliable.
Let me walk through all six with the project for today — a Password Security Awareness Tool — which will have three features: a strength checker, a common password detector, and a tips section. Exactly the kind of tool you’d send around to a team or post on a site.
Stages 1 and 2 — Spec and Decompose
Stage 1 — Write the specification. Full IPO model. All five prompt components. Before you open an AI window. This is the architect’s blueprint.
TOOL NAME: Password Security Checker
FEATURE 1 — Strength Checker:
Input: text box where user types a password
Process: check 4 criteria: 12+ chars, 1+ uppercase, 1+ number, 1+ special char
Output: colour-coded score (Weak=red, Fair=amber, Strong=green) + which criteria are met (checkmarks) + one improvement tip
Updates in real time as user types. Never show the password in plain text in DOM.
FEATURE 2 — Common Password Check:
Input: same password field, triggered by button click “Check Against Common Passwords”
Process: check against a built-in list of the 50 most common passwords
Output: red warning if found (“⚠️ This is one of the most common passwords — do not use it”), green tick if not found
FEATURE 3 — Tips Section:
Static section below the tool. Five numbered tips for creating strong passwords. Professional, practical, no jargon.
LANGUAGE: Single HTML file. Embedded CSS and JavaScript. No external libraries or CDNs.
FORMAT: Complete file ready to run. Comments on each major section. After the code, list what I need to do to deploy it on Replit.
CONSTRAINTS: No network requests. All processing in browser only. Do not log or store any input. Input must be sanitised before any DOM insertion. Handle empty input gracefully (no crash, no error message — just blank state).
Stage 2 — Decompose into pieces. Even for a single-file tool, thinking about the pieces prevents confusion during building. My decomposition for this tool:
Piece 1: HTML structure — the layout, the headings, the input box, the output areas, the tips section
Piece 2: CSS — dark background, colour coding for the score labels, responsive layout
Piece 3: Strength checking JavaScript — the four-criteria check, the real-time update logic
Piece 4: Common password checking JavaScript — the list of 50 passwords, the lookup logic
Piece 5: Tips content — the five static tips
For a single HTML file, all five pieces go in the same file. But knowing they’re five pieces means if Piece 3 breaks, I know exactly what to ask AI to fix — I don’t have to debug the whole file. I can say “the strength checking isn’t updating in real time” and AI can target that specific piece.
Stage 3 — Scaffold the Complete Tool
Scaffolding is the first code generation pass. I use the full specification from Stage 1 as my initial prompt. I don’t generate pieces separately and try to combine them — that almost always creates integration issues. I generate the whole thing at once, getting AI to write all five pieces together so they work as a cohesive unit.
The Day 2 five-component prompt structure from the specification above is your scaffold prompt. Paste it into your AI and get the complete file back.
After you receive the code, before you run it, do the quick structural audit from Day 3:
→ Ask: “List every function in this code and describe what each one does.”
→ Ask: “Does this code make any network requests or access any external services?”
→ Ask: “How does this code handle empty input in the password field?”
→ If anything looks wrong: fix with an iterative prompt before running.
This pre-run audit takes three to five minutes and catches mistakes before you spend time testing broken code. I rarely skip it.
Stage 4 — Test and Iterate
With the scaffolded code in hand, run the behavioural testing checklist from Day 3. For the password tool specifically, my test cases:
Strength checker tests:
→ Empty field: should show nothing, not crash
→ “abc”: Weak (fails all four criteria)
→ “Password1”: Fair (has uppercase and number, but no special char and only 9 chars)
→ “MyStr0ng!PassPhrase”: Strong (meets all four)
→ Very long password (100 chars): should handle gracefully
→ Password with only special characters “!@#$%^&*”: which criteria does it trigger?
Common password tests:
→ “password”: should be flagged
→ “123456”: should be flagged
→ “qwerty”: should be flagged
→ “g$7Kp!mN3xQ2”: unlikely to be on the list, should clear
→ Empty field when clicking check: should not crash
Security test:
→ Type `<script>alert('xss')</script>` in the password field. Does a popup appear? If yes — critical fix needed before deploying.
For each test that fails, use the debug loop from Day 3: describe what you expected, what you got, and ask for the fix. The iterative formula: “The [passing feature] works correctly. The [failing test] should [expected behaviour] but instead [actual behaviour]. Fix it and give me the complete updated file.”
Stage 5 — Deploy: Three Options
A tool that only works on your computer isn’t really deployed — it’s just a local file. Deployment means giving it a URL that anyone can visit. Here are the three options I use most, ranked by ease:
Option 1 — Replit (easiest, recommended for this course).
Go to replit.com → Create Repl → choose HTML/CSS/JS → paste your code into the index.html file → click Run. Replit generates a public URL instantly. Free tier includes permanent hosting for static sites. This is the option I recommend for Day 4. The URL looks like: yourproject.yourname.repl.co — shareable, permanent, no credit card required.
Option 2 — GitHub Pages (slightly more setup, completely free, professional).
Create a free GitHub account → New repository → Upload your HTML file as index.html → Enable GitHub Pages in Settings → Get your URL. Free permanent hosting. URL looks like: yourname.github.io/yourproject. More professional for a portfolio, requires a GitHub account and a few extra clicks but no credit card and no ads.
Option 3 — Netlify Drop (no account required, instant).
Go to netlify.com/drop → drag and drop your HTML file → get a URL immediately. Free. No account required. URL is randomly generated (like amazing-curie-1234a.netlify.app). URL expires after a few hours unless you create a free account to make it permanent.
For today: use Replit. It’s the fastest path to a live URL and the easiest to revisit and update later if you want to keep improving the tool.
This is the main event. Everything from Days 1-3 goes into this one exercise. Follow the six-stage process precisely. Don’t skip the audit before running. Run the behavioural tests before deploying. The goal at the end isn’t just working code — it’s a live URL you can share. That URL is your proof that this method works.
- Stage 1 — Spec: Use the full specification from Section 2 of this day, or adapt it for a different project of your choice. Write it out fully before opening AI.
- Stage 2 — Decompose: Identify the pieces (HTML structure / CSS / feature 1 JS / feature 2 JS / static content). One line per piece.
- Stage 3 — Scaffold: Paste your five-component prompt into AI. Get the complete file. Run the three audit questions. Fix any issues with an iterative prompt.
- Stage 4 — Test: Open the file in your browser. Run your behavioural test cases. Run the XSS security test. Document what passes and what needs fixing. Fix anything that fails using the debug loop.
- Stage 5 — Deploy: Go to replit.com. Create new HTML/CSS/JS Repl. Paste your final code. Click Run. Copy your public URL.
- Stage 6 — Share: Send the URL to one person — a friend, a family member, a colleague. Ask them to use it and tell you one thing they found confusing.
Stage 6 — Share and Document
Sharing is part of the build process, not an afterthought. Real tools get tested by real users who behave unexpectedly, use it on devices you didn’t test on, and find things that work differently than you intended. The feedback from a single real user is worth more than ten rounds of solo testing.
When you share, ask specific questions rather than “does it work?” Specific questions produce useful answers:
→ “Did the strength indicator update as you typed, or did you have to do something to trigger it?”
→ “Was it clear what you needed to do? Or was anything confusing about what the tool does?”
→ “Did it work on your phone or only on desktop?”
Document your tool with a brief description — what it does, what it doesn’t do, and any known limitations. Even a three-sentence README saves confusion when someone shares it further than you intended. Ask AI to write it: “Write a three-sentence description of this tool for someone who hasn’t seen it. Include what it does, what it doesn’t do (no network connection, browser-only), and who it’s designed for.”
Other Project Ideas — Same Process, Different Tools
Today’s tool is a password checker. The process works for anything. Here are six projects that follow identical stages and are achievable in one day using the skills from Days 1-3:
Security awareness quiz. Ten multiple-choice questions about password hygiene and phishing. Score at the end. All built-in to a single HTML file. Great for team training.
URL safety scanner (basic). Input: a URL. Process: check for known phishing patterns — too many hyphens, mismatched domain, IP address format, suspicious TLD. Output: colour-coded risk rating with explanation. Makes a great companion to our phishing URL scanner.
Data breach awareness tool. A static page that explains what data breaches are, shows famous examples, and gives personalised steps based on “which of these services do you use?” — all client-side, no API calls required.
Personal productivity tracker. Input: task name + estimated time. Process: store tasks in browser memory (not sent anywhere), show list with total time. Output: running list with a daily total. Simple, useful, zero data exposure.
Random password generator. Input: length + complexity options (uppercase, numbers, symbols). Process: generate cryptographically random password using browser’s built-in random function. Output: generated password + copy button + strength rating. Never stored, never sent.
CSV data viewer. Input: paste CSV data. Process: parse the data, display in a sortable table. Output: formatted table with column sorting. Completely client-side — the data never leaves the browser. Useful for anyone handling data without wanting to upload it to a third-party site.
Now that you’ve built one tool successfully, I want you to scope the next one using everything from Days 1-3 as your planning framework. This is how real projects start: with thorough pre-thinking, not with “let’s see what AI can do.” Pick something you actually want to build and scope it properly.
- Choose a tool you genuinely want to build — something that solves a real problem for you or someone you know. It doesn’t have to be security-related.
- Write the full six-stage plan:
- Stage 1 spec: all five components (Context / Task as IPO / Language / Format / Constraints)
- Stage 2 decompose: list every piece, one line each
- Stage 3: identify the three pre-run audit questions you’d ask
- Stage 4: write five specific behavioural test cases (including one edge case and one security test)
- Stage 5: which deployment option would you use and why?
- Identify the single riskiest assumption in your plan — the thing most likely to go wrong and require the three-round debug rule.
Deployment is a skill that gets easier with practice. If you deployed your Exercise 1 tool successfully, this exercise is about going further — updating a live deployment and adding one feature that came from real user feedback. If you haven’t deployed yet, complete Exercise 1 first, then come back here.
- Take the feedback you received from the person you shared your tool with in Exercise 1 (or use this as your feedback: “The strength label updates too slowly — there’s a visible delay after I stop typing.”)
- Write an iterative prompt that addresses the feedback. Use the Day 2 formula: “The [working parts] work correctly. The [feedback issue] should change: [current behaviour] → [desired behaviour]. Give me the complete updated file.”
- Get the updated code. Replace the file in your Replit project (paste the new code over the existing code).
- Click Run in Replit. Your live URL now serves the updated version — no new URL needed.
- Share the same URL again to the same person. Ask: “Does it feel better now?”
Questions and Answers
What if I want to build something more complex than a single HTML file?
More complex projects — tools that need to store data persistently, connect to external services, or handle many users — require a backend server. This is where Python with Flask or Node.js with Express come in. The process is identical (Specify → Decompose → Scaffold → Test → Deploy) but deployment uses a platform like Railway, Render, or Fly.io instead of Replit static hosting, and the five-component prompt includes “Language: Python with Flask” and “Deployment target: Railway free tier.” Ask AI to scaffold the whole thing including a requirements.txt file and deployment instructions. The mental model is the same; the implementation adds a server layer.
Can I connect my tool to real data from the internet?
Yes — this requires using an API (Application Programming Interface). APIs are how programs get data from external services: weather data, stock prices, news, security databases. To use one: find an API that provides what you need, get an API key (usually free for low usage), and include “connect to [API name] API using this key: [key] to fetch [data type]” in your Task specification. Be careful with API keys in client-side (browser) code — they can be viewed by anyone who looks at the source code. For anything you want to keep private, the API call should happen server-side. Ask AI: “How do I make API calls to [service] without exposing my API key in the browser?” and it will explain the server-side proxy pattern.
My tool looks bad on mobile. How do I fix it?
Mobile responsiveness is a CSS concern. The fastest fix: add to your iterative prompt “This tool needs to look good on a mobile phone screen (375px wide) without horizontal scrolling or zooming. Make it responsive.” AI knows how to add responsive CSS — media queries, flexible layouts, appropriate font sizes. If a specific element breaks on mobile, describe it: “On mobile, the two-column layout becomes unreadable. Make it single column on screens narrower than 600px.” Always test on actual mobile after the fix — either on your phone or using Chrome’s developer tools (F12 → mobile toggle button) to simulate a phone screen.
How do I make my tool look more professional?
Three iterative prompts that reliably improve appearance: (1) “Apply a consistent design system — a dark background (#0a0f1e), [accent colour] as the primary accent, Syne font for headings, and clean card-style containers with subtle borders.” (2) “Add smooth CSS transitions to the strength label colour change and button hover states.” (3) “Add a professional-looking header with the tool name, a one-line description, and a small security-related icon.” Each is a one-pass iterative prompt that makes a significant visual improvement. For the most professionally designed result: describe the look of a tool you admire and ask AI to match that aesthetic.
Can I make my tool work offline?
For single HTML files with no external dependencies — they already work offline. Open the file in a browser, disconnect from the internet, and it still functions. If you’ve deployed to Replit or GitHub Pages, it requires an internet connection to load. For offline-capable web apps (apps that work even when the user has no connection), there’s a technology called Service Workers — tell AI “make this web app work offline as a Progressive Web App (PWA)” and it will add the necessary service worker code. PWAs can also be “installed” to a phone’s home screen, making them behave like native apps.
What if Replit changes or removes their free tier?
Platform changes happen. If Replit is no longer available or changes its free tier, the alternatives are: GitHub Pages (free, permanent, excellent for static HTML/CSS/JS), Netlify (free tier, drag-and-drop deployment), Cloudflare Pages (free, excellent performance), and Vercel (free tier, good for more complex projects). All four accept a single HTML file and provide a public URL. The deployment instructions change slightly between platforms but the process is the same: upload your file, get a URL. Ask AI: “Walk me through deploying a single HTML file to [platform name] for free” — you’ll have step-by-step instructions in under 30 seconds.
Further Reading
- How to Audit AI Generated Code Security — the full security review for your deployed tool
- AI Hacking for Beginners — the security context for the tools you’re building
- LLM Hacking Hub — advanced AI tooling built on the same foundation as this course
- Replit — your free deployment platform for everything you build in this course
- GitHub Copilot — the professional AI coding assistant for when you want more than chat-based coding